

What to Send Your Real Estate Reel Editor: An iPhone Footage Checklist
You do not need a polished performance to record a useful real estate Reel. You need a clear message, understandable sound, and footage that gives the editor room to work. A natural iPhone clip can stay recognizably yours after editing.
This checklist is for agents recording their own footage for FLM Reel editing. It is different from preparing for an FLM camera shoot: you handle the recording, and FLM shapes the supplied clips into the finished video.
Choose one question and one next step
Write the client question at the top of your notes. For example: “What should a seller clear before listing photos?” Pick two or three useful points and one closing action. Avoid combining pricing advice, a neighborhood tour, and a listing introduction in the same short video.
Use talking points instead of memorizing a paragraph. The goal is to sound like yourself answering a client. Verify any property, neighborhood, or market facts before recording, and include the exact approved wording in your brief if it must appear on screen.
Set the phone before you start speaking
- Clean the lens and set the phone vertically on a stable stand at eye level.
- Keep a little space above your head and around your shoulders so the edit has room for captions.
- Start with FLM’s guide recommendation of 1080p at 30 fps. 4K is welcome when storage and transfer capacity permit.
- Keep your settings consistent across the clips for the same Reel.
- Check the frame for private information, distracting objects, or a background you do not want published.
Available recording controls vary by iPhone model. Apple explains the supported options in its video recording guide. There is no need to purchase a new phone or use a specialized recording format for a straightforward talking-to-camera clip.
Use a light source you can keep consistent
Face a window or another soft light source. Avoid placing the brightest window directly behind your face. Record a short test and check whether your face is visible and the background still looks believable.
Once the framing is set, keep the phone and your position steady. If your phone supports focus and exposure locking, use the control described in your device guide. A consistent setup is easier to edit than clips that change brightness every time you lean forward.
Some iPhones offer Lock Camera under Settings → Camera → Record Video to prevent camera switching during recording. Apple lists this and other model-dependent controls in its recording settings guide.
Listen to a ten-second test
Turn off a noisy fan, move away from traffic, and choose a room with less echo. If you have a clip-on microphone, check that the phone is actually recording from it. Listen to the test with headphones before recording the full answer.
Listen for understandable words, distracting noise, and overloaded sound. If the main sentence is difficult to hear, improve the recording setup now. Captions and audio cleanup help the presentation, but they cannot restore a sentence that was never captured clearly.
Record short takes with breathing room
Record two or three takes of the same answer. Leave a couple of seconds before speaking and after the last sentence. If you make a mistake, pause and repeat the sentence rather than immediately speaking over the correction.
For a walkthrough, capture individual room clips. Move slowly, keep the phone steady, and pause on the detail you are discussing. Record a few related cutaways, such as an entry, a kitchen detail, or an outdoor feature you have permission to film. Avoid a rushed, uninterrupted walk through the entire property.
Send originals and a brief that removes guesswork
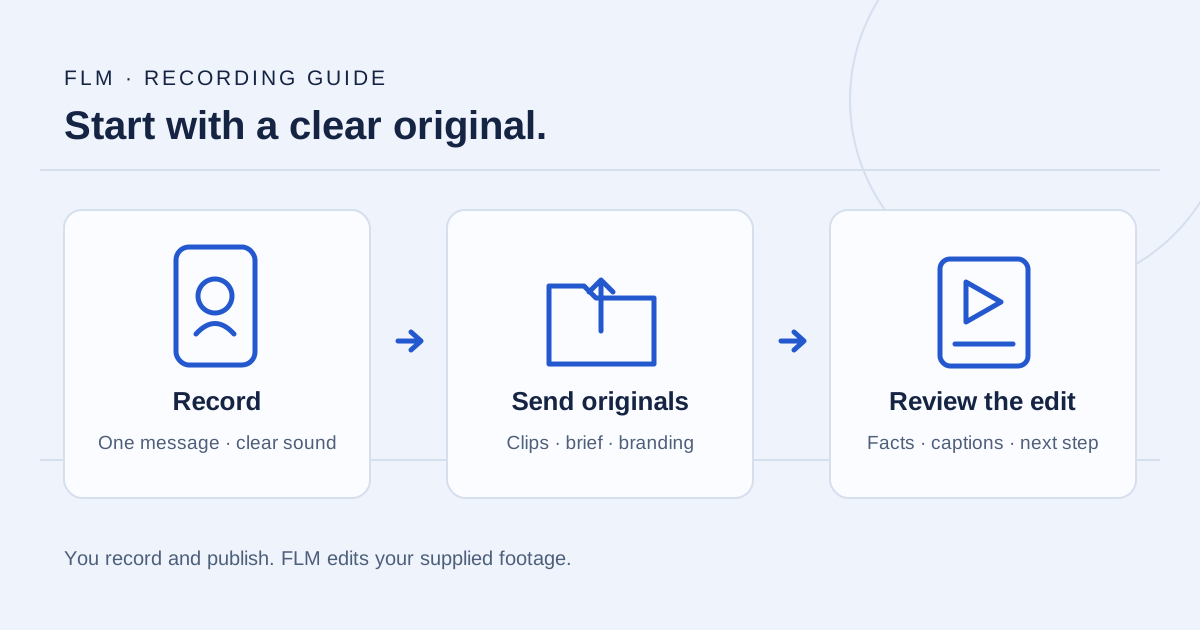
Use the agreed upload link and send original recordings rather than a screen recording or a copy downloaded from a social post. For one standard Reel, keep the total raw footage within ten minutes. If you need a larger edit, discuss the scope before work begins.
Include these details with the files:
- The main message and intended audience.
- Your preferred take and any clips that must be excluded.
- The exact property facts, names, or numbers to use.
- Your logo, brand colors, and any required brand guidance.
- The closing action and the channel where you intend to post.
A useful brief can be short: “Use take two. Answer what sellers should clear before photos. Show the entry cutaway after the first point. End with an invitation to ask for my preparation checklist.” That tells the editor more than “make it engaging.”
Know what the $99 edit covers
The Single Reel is $99 with no monthly commitment. Standard scope covers one agent brand, up to 60 seconds finished, and up to ten minutes of supplied footage. It includes the shooting guide, captions, branding, a cover, and one consolidated revision round. You record and publish; filming and ongoing account management are separate.
FLM targets the first draft within two business days after receiving complete footage, the brief, and brand assets. Larger batches follow an agreed schedule. Extra footage, advanced motion graphics, new concepts, additional revisions, and rush requests are quoted before work begins.
Watch the draft for factual accuracy, readable captions, and the intended closing action. Send one organized set of adjustments. If you prefer FLM to plan the content or film you locally, compare the other levels of social support before choosing your next step.